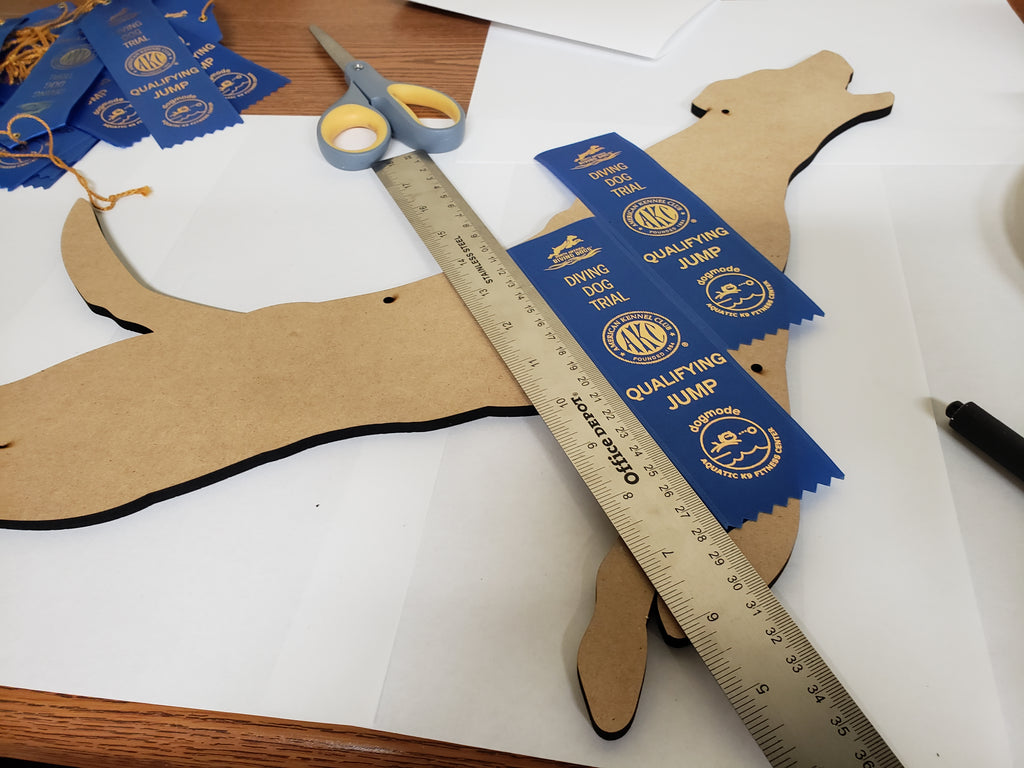
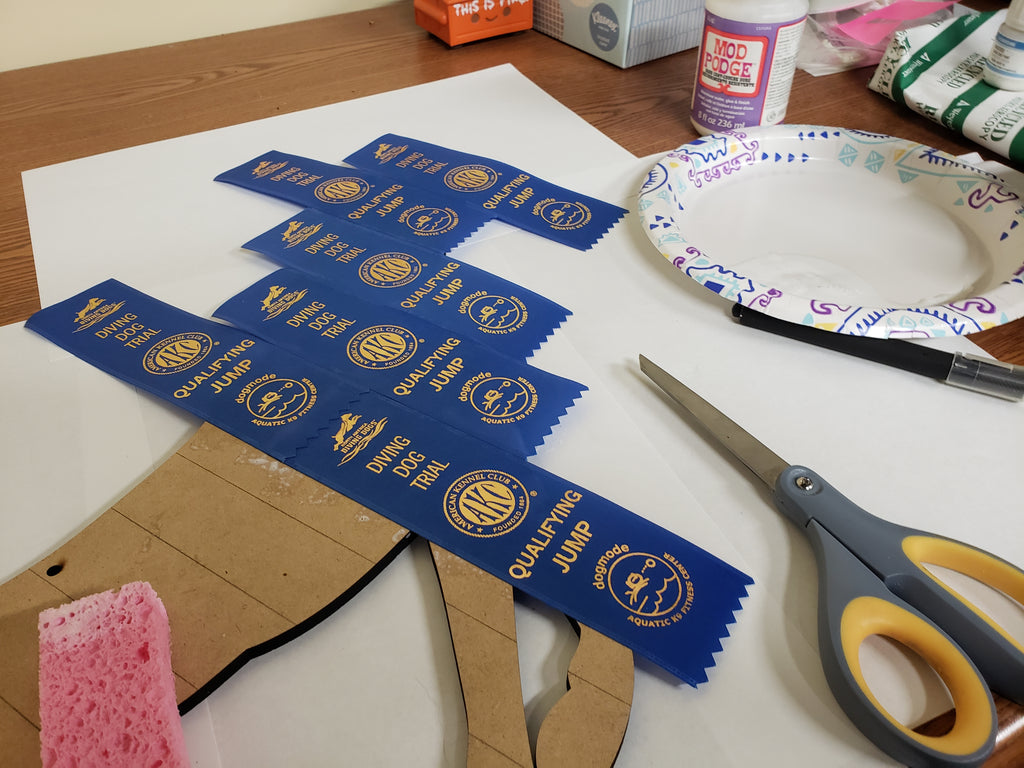
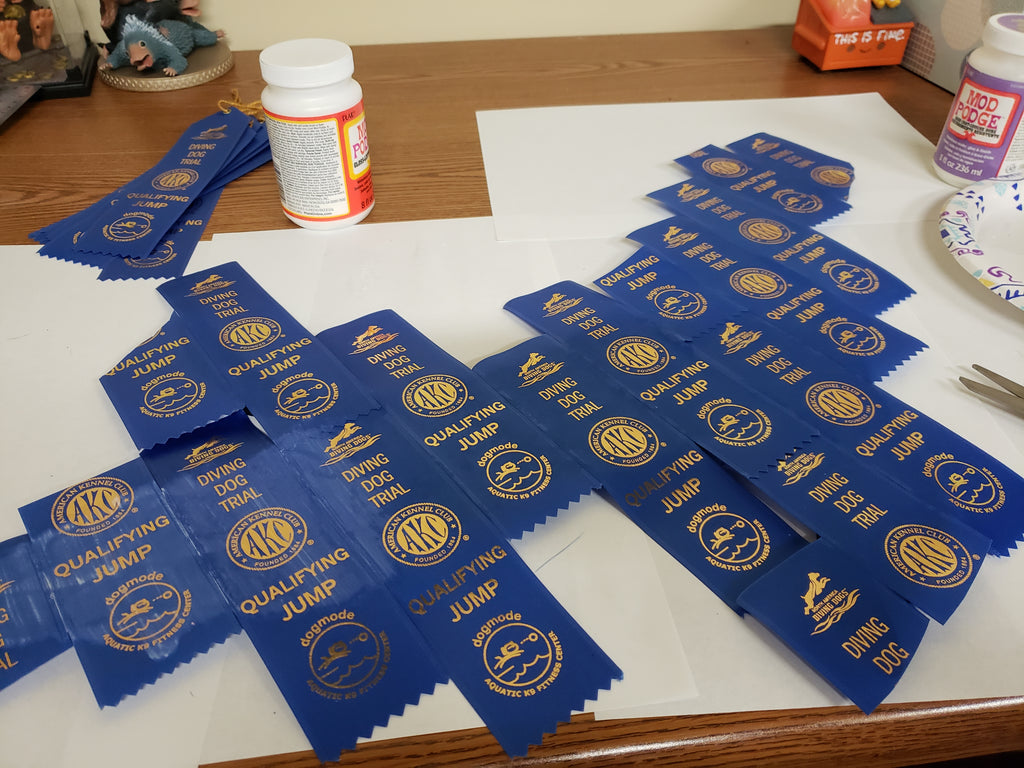
DIY Instructions for Ribbon Cutouts

Tips for adding ribbons to the custom cutouts.

Materials:

  • Ribbons, around 20 depending on size and shape of cutout.
  • Mod Podge (I used the Hard Coat version)
  • Brush or sponge brush
  • Sharp fresh exacto knife
  • Sawtooth picture hanging hooks (optional)
  • E6000 (optional)
  • Nails for hanging (optional)
  • Pencil (optional)
  • Ruler (optional)


Step 1. Select and test ribbon layout. Trim off extra of those you're sure you'll use. 

Step 2. Start attaching ribbons working from one end to the other. I recommend using a light pencil to draw lines on the board to help with keeping the ribbons straight.

Step 3. Let ribbon dry, then add two top coats allowing it to dry in between. Let fully dry overnight.

Step 4. Once fully dry, flip over and start cutting off excess ribbon. A sharp knife will get it done faster with less force. You don't need much pressure if the knife is sharp and this will keep the ribbons from pulling away from the board. Cut carefully through the hanging holes if present.

Step 5. Attach Sawtooth picture hanging hook to front using a strong glue such as E6000. If the ribbon is heavy, you can reinforce the hanger with nails. Since most nails are longer than the 1/4in material you may need to cut/dremel the part sticking out the back. 

Step 6. Hang. If I've added holes for you I try to make the holes themselves parallel to the floor based on the original image. Hold the Cutout against the wall with the holes even and mark the spots with a pencil. I use nails to hang with a good sized head but small enough to go through the holes. This will allow you to hang the cutout but remove it as needed for cleaning etc. 


Starting blank

Prepare your work area and gather your supplies.

Mod Podge Used

I use the Hard coat to apply and the gloss for the final coat after removing excess pieces.

Choose Angle

I find around a 45 degree angle works best but I align the ribbons to see. I want the least amount of small pieces of ribbon as possible.

Use a ruler

I use a ruler to put lines down. The lines are the width of the ruler, not the ribbon. They are there to keep the ribbons at a consistent angle from one end to the other.

Apply the glue

Heavily apply the mod podge and add the ribbons, I staggard the placement for a more finish appearance. You can start from the center or an end.

Continue Applying

Continue down the piece. I cover the cut top of the flats with the scalloped edge of another.

Apply coating on top

Once all the ribbons are attached, apply 1-2 layers of the hardcoat or similar mod podge to the top. I want the ribbons going over the edges to be stiff.

Flip!

Once dried overnight, flip the silhouette over.

Cut excess Ribbon

Using a very scarp exacto knife or similar blade, carefully cut along the edge of the cut out. Pressure should be at an angle. Pushing down may separate the ribbon from the backing so be sure to work along the silhouette edge.

Almost done!

Flip back over and apply another coat of mod podge following the edges of the piece to seal it from fraying. Cut out the holes for hanging, Hint hold up to the light to seeing the placement so you can poke through to start.

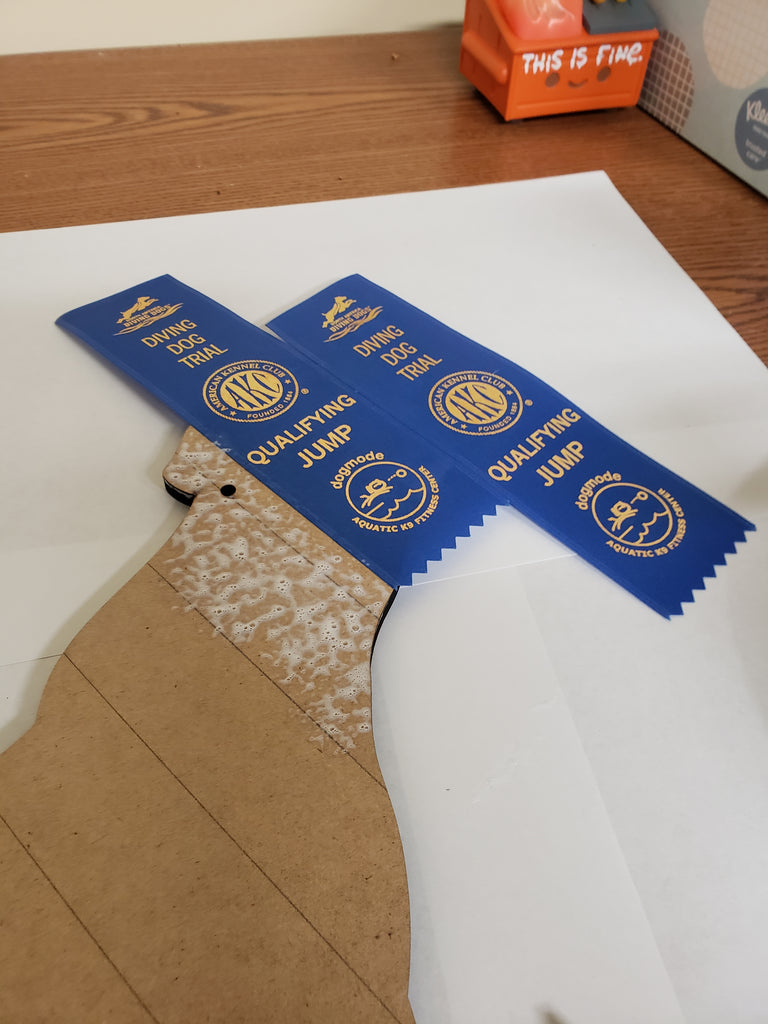
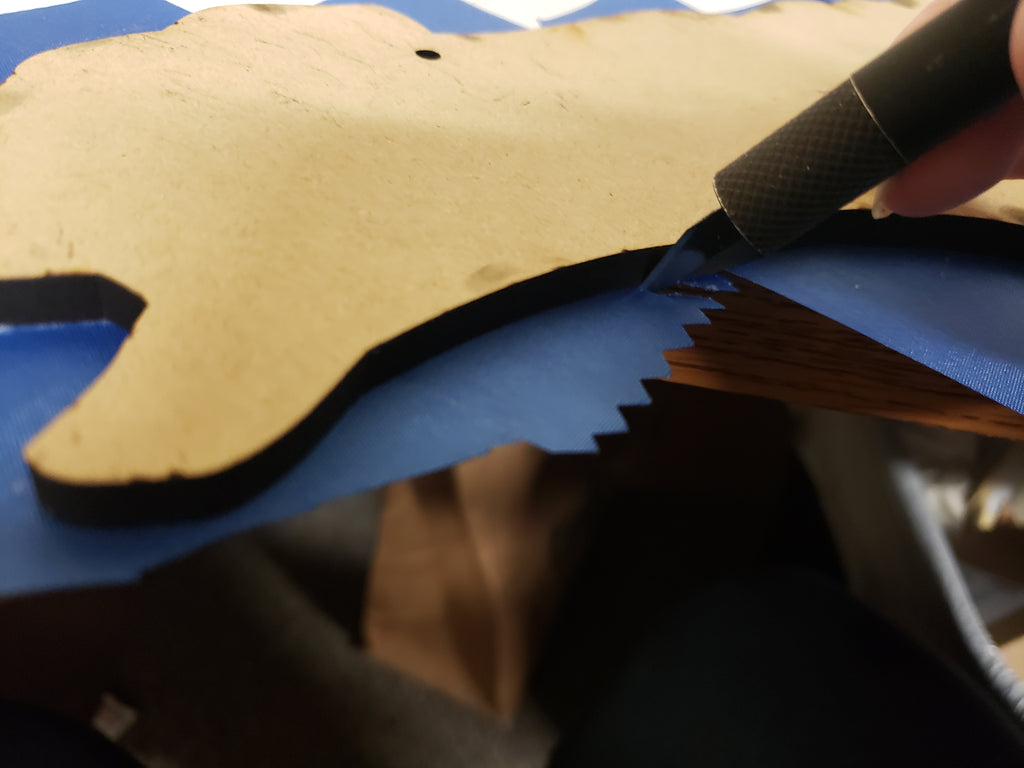
Hang Your Masterpiece!

The metal sawtooth picture hangers work great on the front to hang you ribbon! Apply one or more if you'd like.

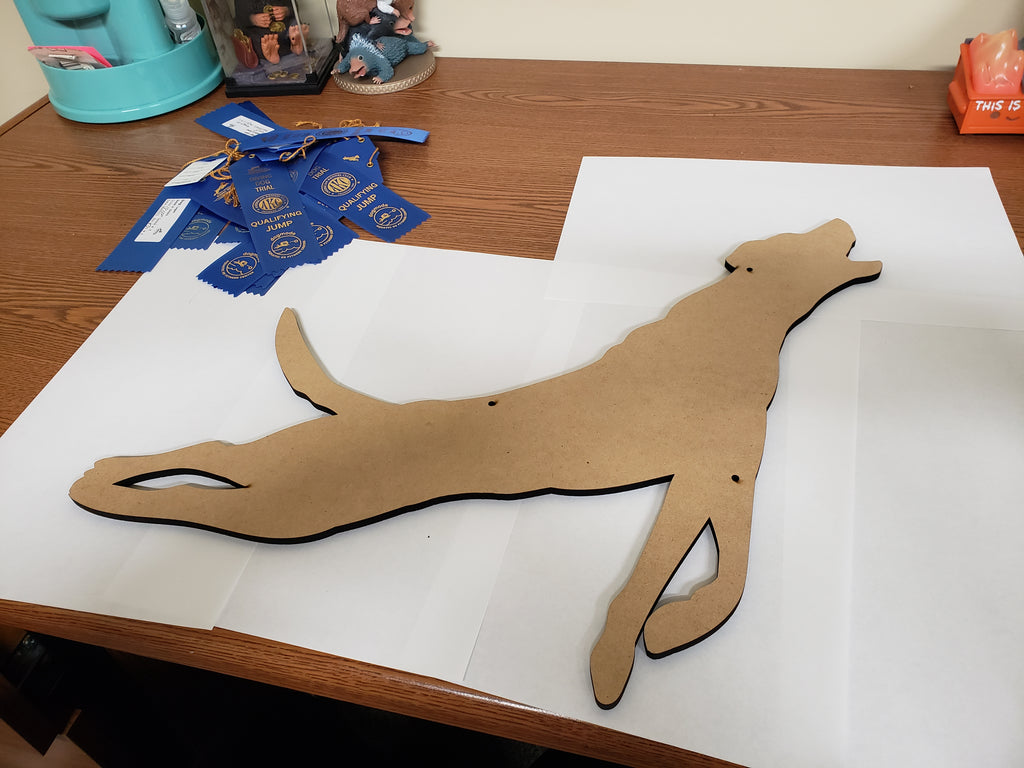
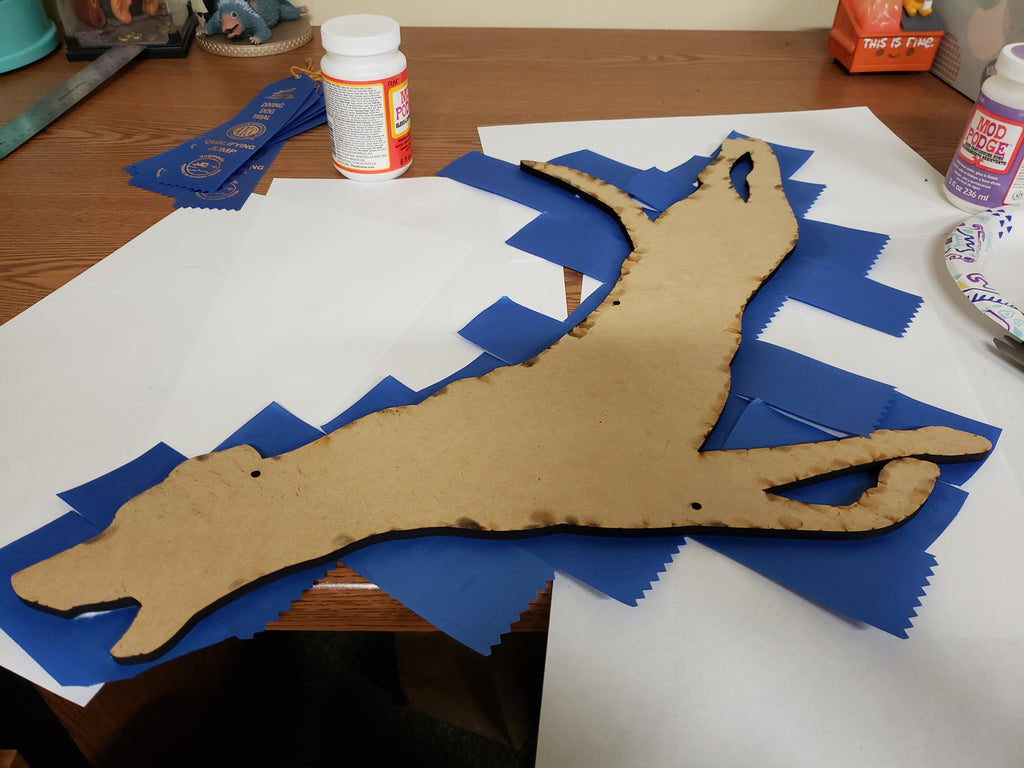
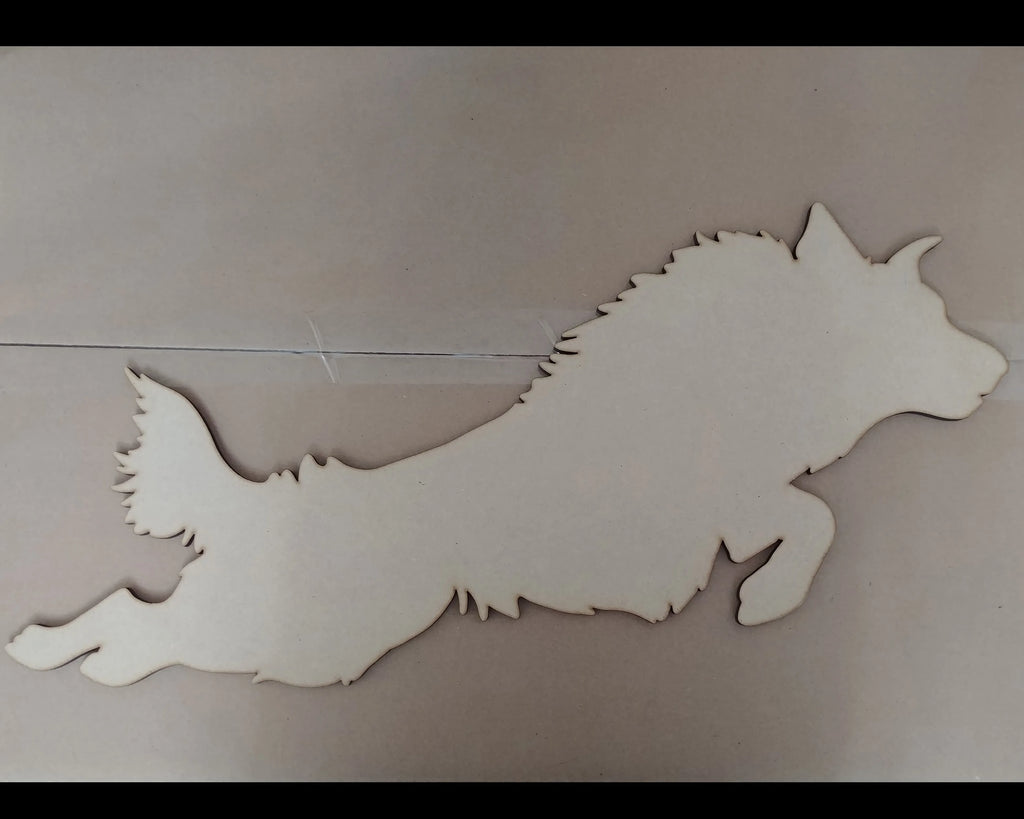
Don't have a silhoutte yet?

Order yours below.

Silhoutte can be created from a photo you provide. A proof will be sent. Please allow time to receive proof, proof approval, and then cutting.

Look too difficult or afraid to mess up your ribbons? Send them to me using the options at the bottom of the page.
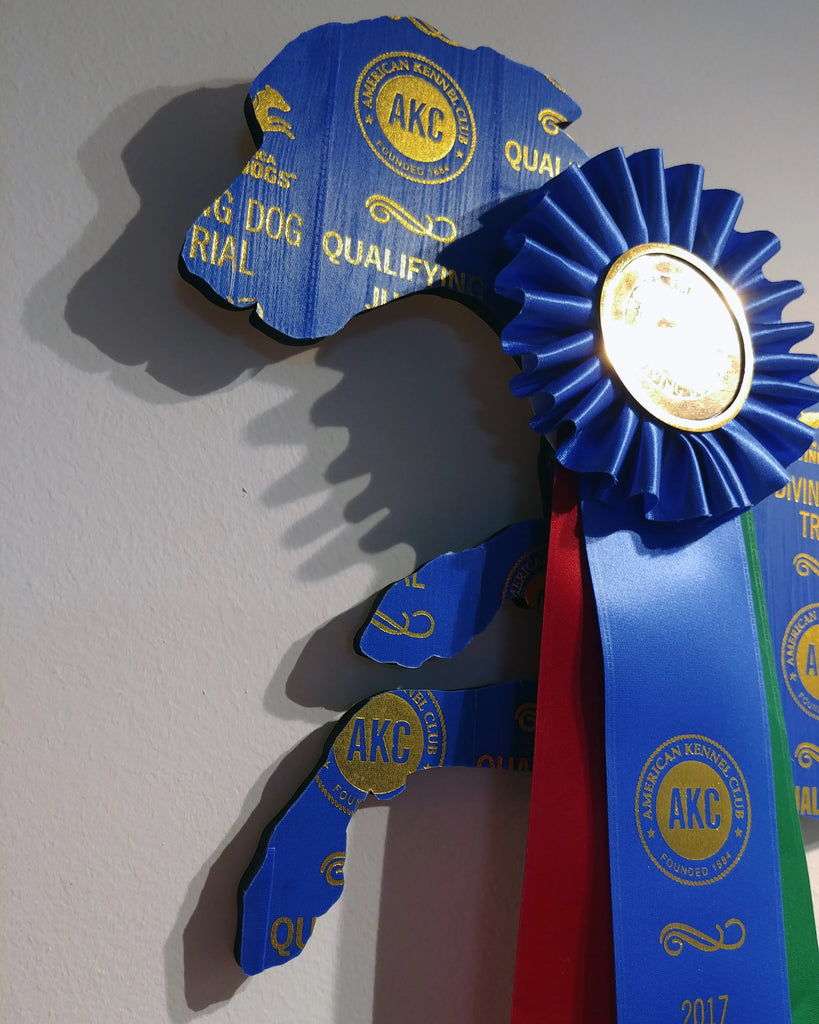
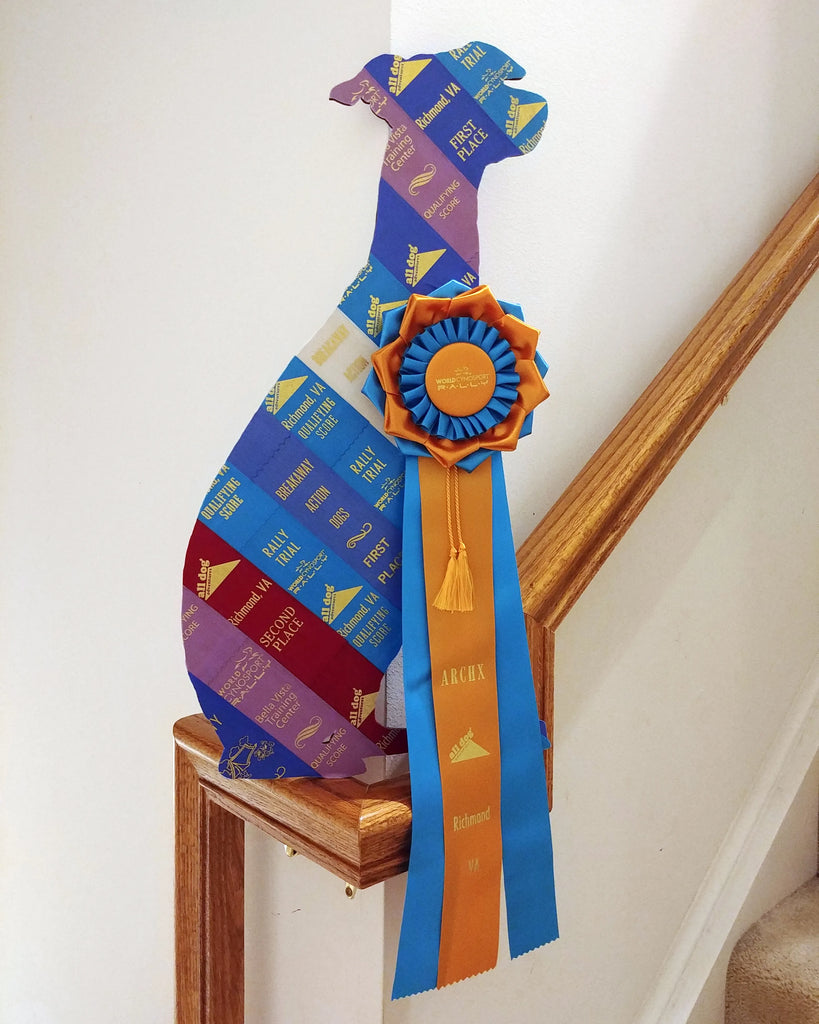
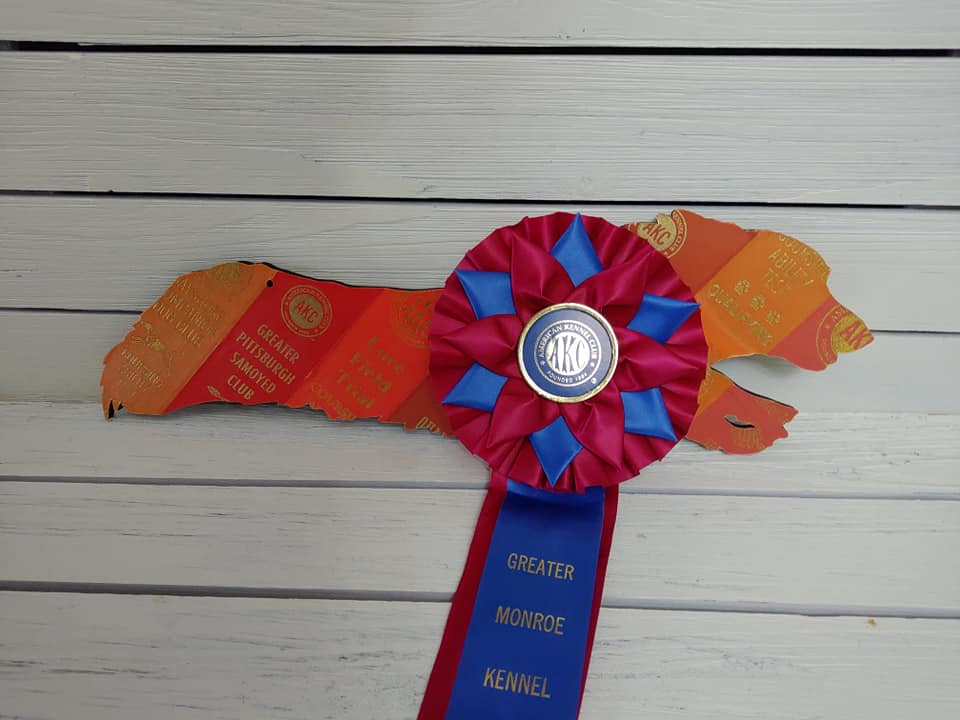
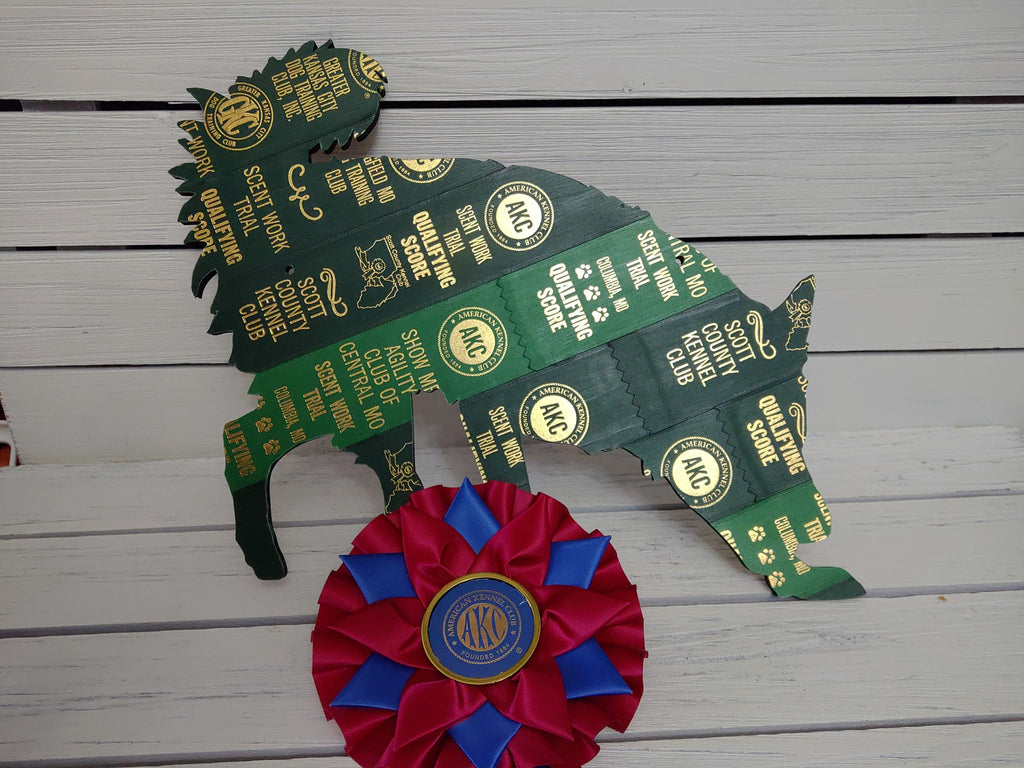
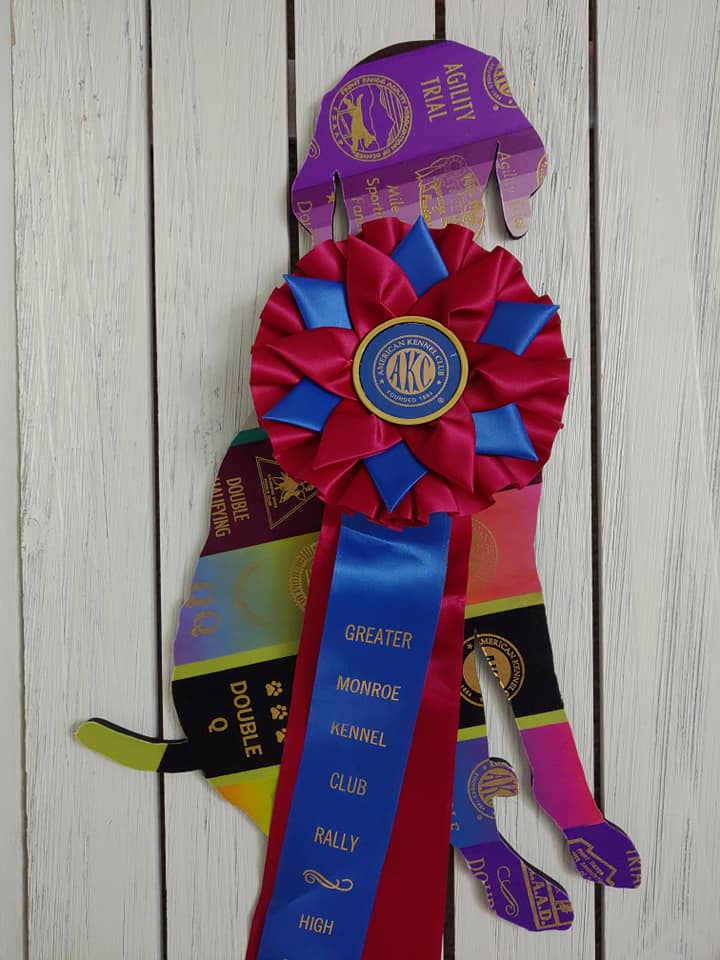
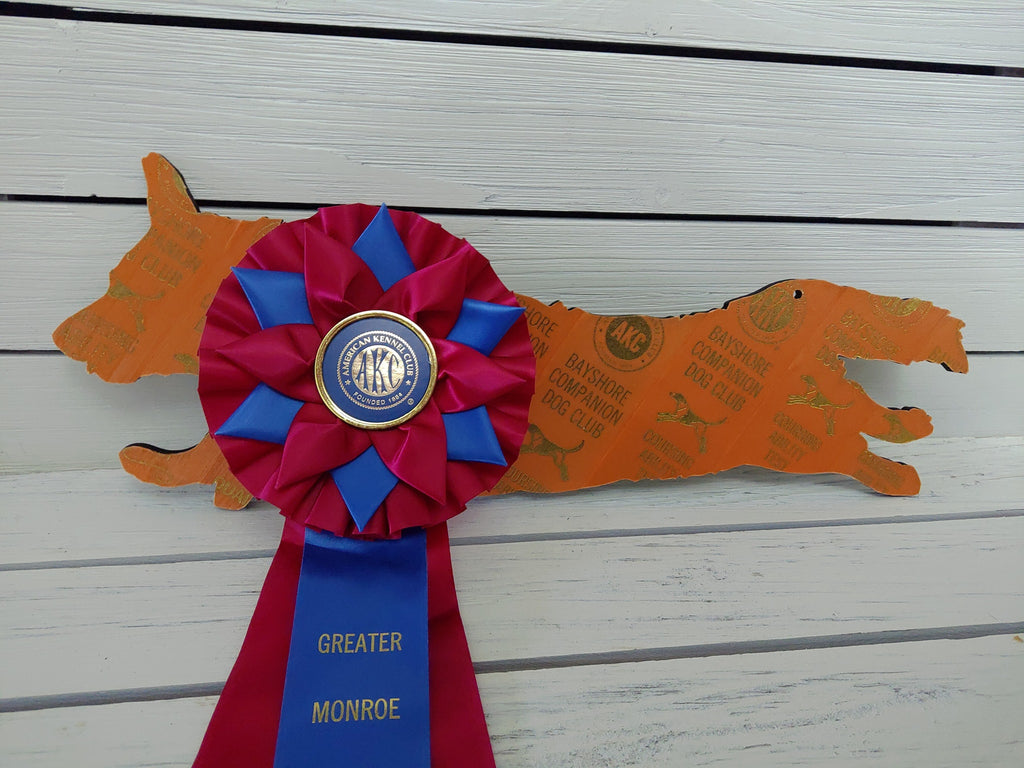
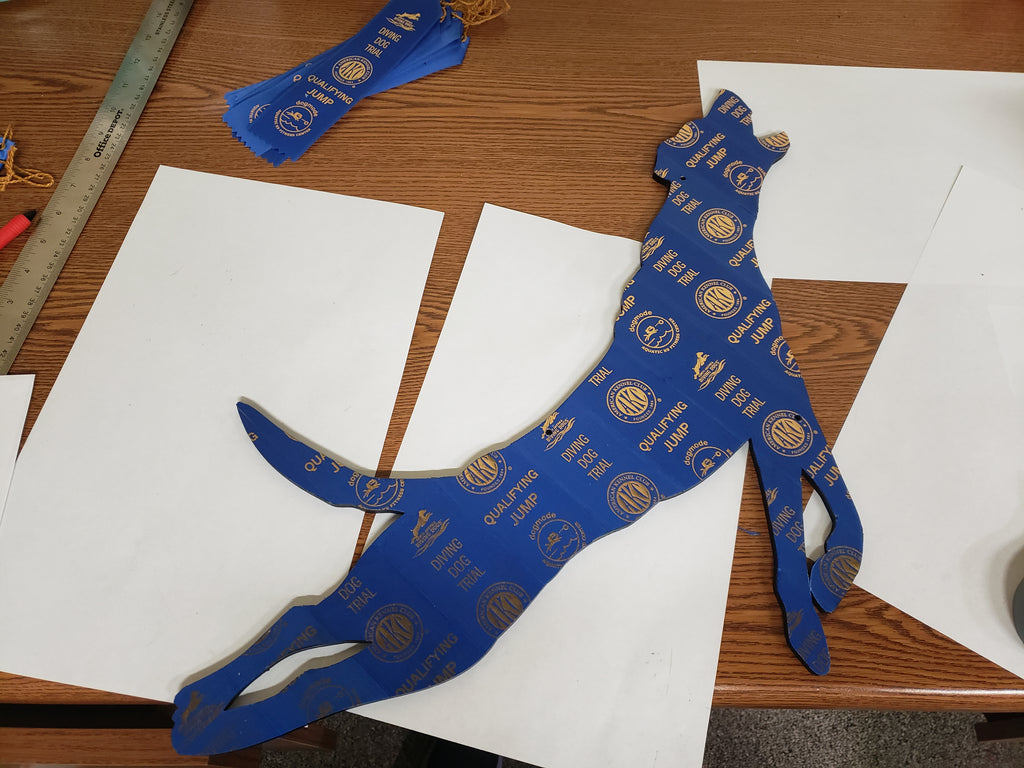
Gallery

Examples finish in house by Diane at Squeaky Egg